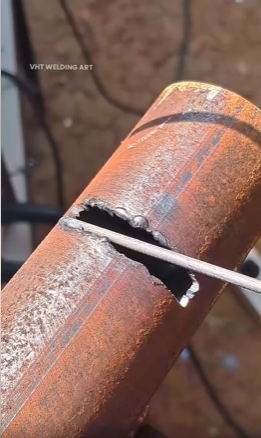
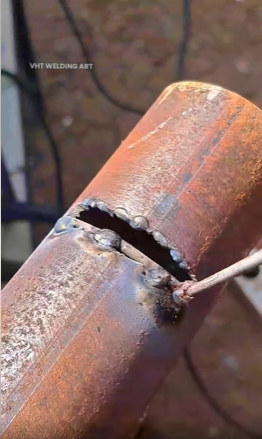
Welding iron bars is a skillful process that requires careful preparation and the right tools. First, gather all the necessary equipment, including a welding machine, electrodes, safety gear (gloves, helmet, and goggles), and a grinder. Begin by cleaning the iron bars to remove dirt, rust, or grease, as these can interfere with the weld. Use a wire brush or grinder for this step. Once clean, position the bars in the desired configuration, ensuring they are securely clamped to prevent movement during welding.
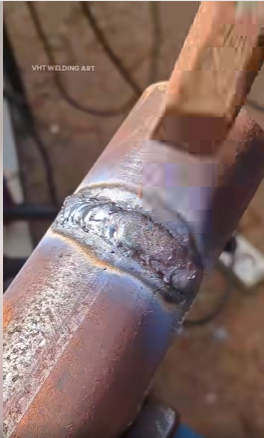
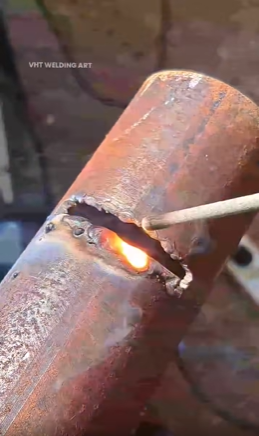
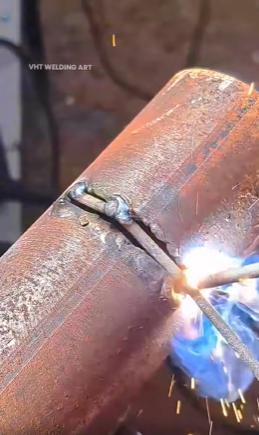
Next, connect the welding machine to a power source and select the appropriate settings based on the thickness of the iron bars and the type of electrode used. Wear your safety gear and ensure you are in a well-ventilated area. Strike an arc by gently tapping the electrode against the iron bar, creating a spark to begin the welding process. Move the electrode steadily along the joint, maintaining a consistent angle and speed to produce a strong, even weld.
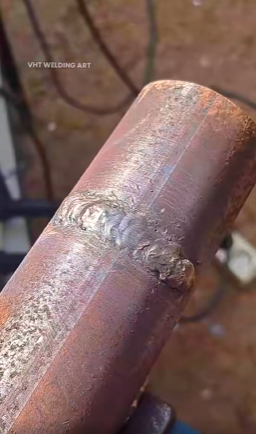
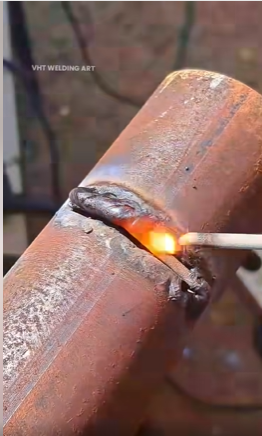
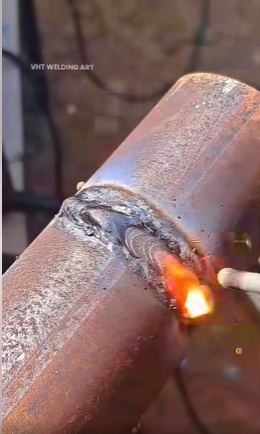
Pay close attention to the heat and avoid overheating the bars, as this can weaken the weld. Allow the weld to cool naturally before inspecting it for gaps or cracks. If necessary, grind the weld to smooth out rough edges or imperfections. Repeat the welding process if additional reinforcement is required.
Finally, clean the welded joint with a wire brush and apply a coat of anti-rust paint to protect the iron bars from corrosion. Welding iron bars demands patience and precision, but with practice, you can achieve strong, durable joints. Always prioritize safety and follow proper procedures to ensure a successful and secure weld.